Wednesday 30 March 2011

Retro Wreath Tutorial


Hi everyone, hope you are all having a lovely week, welcome to some new followers this week, thanks for enjoying my blog and paying a visit.  It feels like it has been a really long week to me so far, it is going very slowly.  I am sure before I know it the week will be over, I guess I am just counting down the days till the Easter holidays!
Anyway, I promised ages ago that I would share a tutorial on how to make one of my wreaths like these:


Well I have finally gotten round to making another one, any remembered to photograph it along the way, (although it has taken me three days!) Here goes:

1. Gather together everything you need:

PVA glue,
polystyrene ring,
assorted fabric,
Assorted yarns and string,
buttons,
ric rac (or other ribbons and lace)
Scissors,
Pins,
Needle and thread,


2. Cut your fabric to a length that will go round the girth of the hoop with a little extra to spare, the width is up to you.  In this wreath I used 7 pieces of fabric in varying widths and patterns.

3. Iron a fold in one of the short ends of your fabric.


4. Sew a hem along the short end. (You don't need a sewing machine, but it is quicker):


5. Paste PVA glue directly onto your polystyrene ring the pull your fabric round it so that the hem is on the inside of the ring to the back. You will need to pull and stretch the fabric so it lies flat against the ring with no wrinkles.  Pin it into place along the hem.  (You will find that the hem is curved, this is fine)


6. Continue this process with all the fabric, leaving gaps in-between each piece.  Pin every bit and makes sure you always keep the hem in the inside to the back. 


7. Put PVA onto the ring in between the fabric and pin your yarn or string onto the ring.  Wrap the yarn or string round and round the ring until you have filled the gap.  You may find it easier to cut the yarn or string into smaller lengths, this is fine so long as you make sure every piece is pinned to the ring at the start and end:


8. Continue this process all the way round the ring till you have filled all the gaps with yarn or string:


9. Next you need to create four Suffolk Puffs for the flowers on your wreath.  To do this, use a template to cut a circle of fabric in a coordinating colour (I made one large white circle, two small white circles and on patterned small circle to layer on top of the large one).  I drew round a bowl as my large template and some tape for my three smaller circles.


10. Next, sew a running stitch round the edges of your circles and pull the ends to gather the fabric together and make the puff. Tie a knot in the thread to secure it:


11.  Repeat this process with the smaller circles.  

12. Now sew a button onto the centres of the puffs.  I like to have my puffs ruffly side up:


13. Next glue the three puffs onto the ring with a blog of PVA, pin in place until dry.


14. Leave your ring for a few hours, until the glue has dried and then remove all the pins.   Hang your wreath with a piece of raffia or other coordinating yarn.  Here is your finished ring:


I think you would need to set aside about two or three hours to make this wreath, not including drying time.  If you love this wreath but don't have the materials or time to make it yourself, then pop over to my shop and your can purchase this very ring for yourself.

If anyone has a go at making this wreath or something similar I would love to see it, so do drop me an email.  Plus let me know if yo think this is a good tutorial or how I can improve it.

Have a wonderful day.
Helen
x

Monday 28 March 2011

Winner!

Hey everyone,

I am happy to announce that by the power of the random number generator:


the winner of the postcard artwork is Bex of Futures, Well done Bex!

These will be winging their way to you very soon:


If you are desperately sad to have missed out on this giveaway but love the cards so much that you simply have to have them in your possession then mosey on over to my shop and you can purchase them for a very reasonable price. 

At the moment I am in the process of creating a tutorial for a wreath and am trying in vain to learn to crochet a flower via Youtube.  Not an easy task for someone as inpatient as me I can tell you right now.  Can't wait to share the tutorial with you once it is finished though.

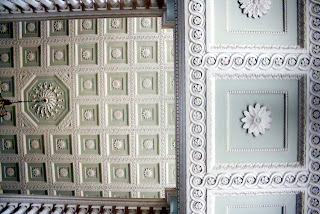
In the mean time please delight yourselves in these photos of our weekend visit to The Vyne, National Trust property that I visited with my Aunt and hubby on Saturday:


Hope you have all had a fabby start to the week.

Helen
x

Sunday 27 March 2011

Giveaway closed

The giveaway id now closed and I will announce the winner tomorrow.  Thankyou all so much for your entries I am so glad you all like my art.

TTFN

P.S I am going to be doing another giveaway (soon I hope) to celebrate reaching 100 followers.

Saturday 26 March 2011

Giveaway!!

As promised I am doing a giveaway today for all my lovely followers and any newcomers.  I am so grateful to have you all, it brings me such joy when I have a comment left on my blog or an email.  I feel like part of such a wonderful community here on the internet and have met so many lovely, like minded people, I feel really blessed.

So today I am doing a giveaway of a set of five of my postcard prints of my own original artworks:


To be in with a chance of winning this set of postcards all you have to do is leave a comment on this post with a way of contacting you.  For extra entries, become a follower and facebook and tweet this post and share the link.

The giveaway ends on Sunday Evening 7.00pm GMT.
Good luck!

p.s. If you can't wait to see if you win the giveaway you can buy this set of postcards from my Etsy Shop Serendipitychild Art.

Wednesday 23 March 2011

Vintage Map Bunting and give-away news

I went a bit insane when I made this bunting, normally when I do my vintage music sheet bunting I make two meters with ten flags, but when I made this vintage map bunting I just kept on going and ended up with twenty maps at nearly 6 meters long!!  I wondered why it was taking me longer than usual!  Anyway, I hardly put the price up at all from the price of the two meter bunting so I think this is a real bargain:


The give-away news is that starting from tomorrow I am going to be doing a give-away of a set of five of my painting postcard prints, so be sure to call back soon and be in with a chance of winning these beauties:


Tuesday 22 March 2011

Weekend Frolics

Had a lovely weekend, not just because of my Confirmation that both my parents and by parents-in-law attended, but also because we spent a beautiful day at a National Trust Property called Sissinghurst Castle in Kent. Here are some pics for you to enjoy:

No that is not a cigarette I am holding!  I don't smoke.


Hope you have all had a good start to the week, day off tomorrow!!  yippee!

Sunday 20 March 2011

Confirmation and my testimony


Today I was confirmed at my Church.
For those who are not Christian and wondering what on earth I am talking about, the tradition in the Church of England is to be Baptised as a baby and then to confirm the promises your parents made for you at your Baptism, as an adult.  The confirming of the promises your parents made is called confirmation.  It is also the time when you can officially start taking the bread and the wine (communion) although I have been taking communion for a long time because i felt I had confirmed my faith in my heart a long time ago.   As a teenager I had the chance to be confirmed, all my friends were doing it, but I didn't feel ready.   I feel like such a different person to who I was as a teenager so my confirmation was a very significant thing for me to do.
Here is the testimony that I gave today after my confirmation, a testimony is usually the story of how a Christian came to their faith:

I was raised as a Christian and have always believed in Jesus.  However I can't say that I have always felt like I could let God be in charge of my life.  The transformation from wanting to be in control to being able to give God the control did not happen in a flash but has been a gradual process.  I liken it to a cup being filled by a dripping tap, at one point the cup was empty and drip but drip the cup has become fuller, so that somewhere in the last 27 years a transformation took place in my heart so that I was able to say to God "Here is my life, do what you like with it, it's yours." Being confirmed is a way for me to publicly acknowledge a change that has already taken place in my heart, from being unwilling to being willing.  And I now look forward to God continuing to fill up my cup drip by drip until it is overflowing.

I could have said a lot more, but thank goodness I didn't, I only managed to say this short paragraph before I got choked up!


Here is one of the verses that was read:


John 3:1-7
Now there was a Pharisee, a man named Nicodemus who was a member of the Jewish ruling council. 2 He came to Jesus at night and said, “Rabbi, we know that you are a teacher who has come from God. For no one could perform the signs you are doing if God were not with him.”
 3 Jesus replied, “Very truly I tell you, no one can see the kingdom of God unless they are born again.”
 4 “How can someone be born when they are old?” Nicodemus asked. “Surely they cannot enter a second time into their mother’s womb to be born!”
 5 Jesus answered, “Very truly I tell you, no one can enter the kingdom of God unless they are born of water and the Spirit. 6 Flesh gives birth to flesh, but the Spirit gives birth to spirit. 7 You should not be surprised at my saying, ‘You must be born again.’


Tumblr_l8jakkpnr21qdbbywo1_500_large


Hope you all have a wonderful week.

Saturday 19 March 2011

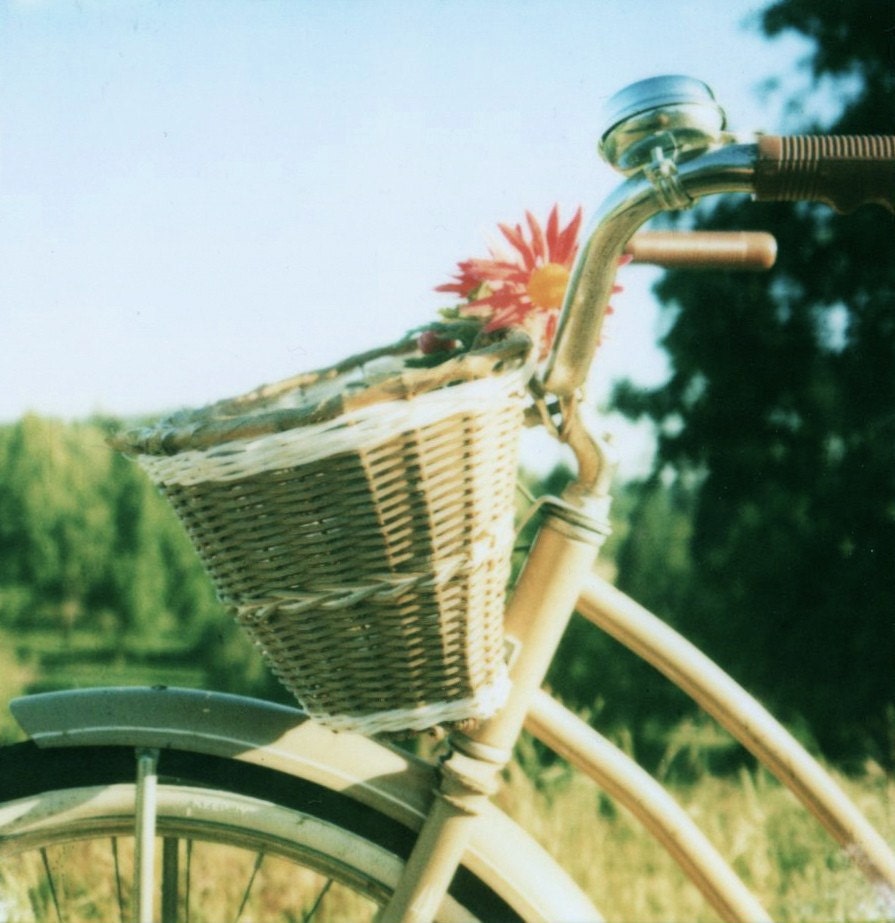
Mori girls like bicycles


Continuing my Etsy Treasury series on things that Mori girls like, this week I am sharing with you a Mori girl's love of bicycles.
The bicycle is the urban Mori girl's vehicle of choice. They are cheap and eco-friendly and allow the her to get back to natural, feeling the wind in her hair and the sun on her skin. Mori girl's loose clothes and flat shoes lend themselves to freedom of movement and her vintage road bike can be customised with a basket and flowers to create a more natural look.
Read more at: morigirl.blogspot.com


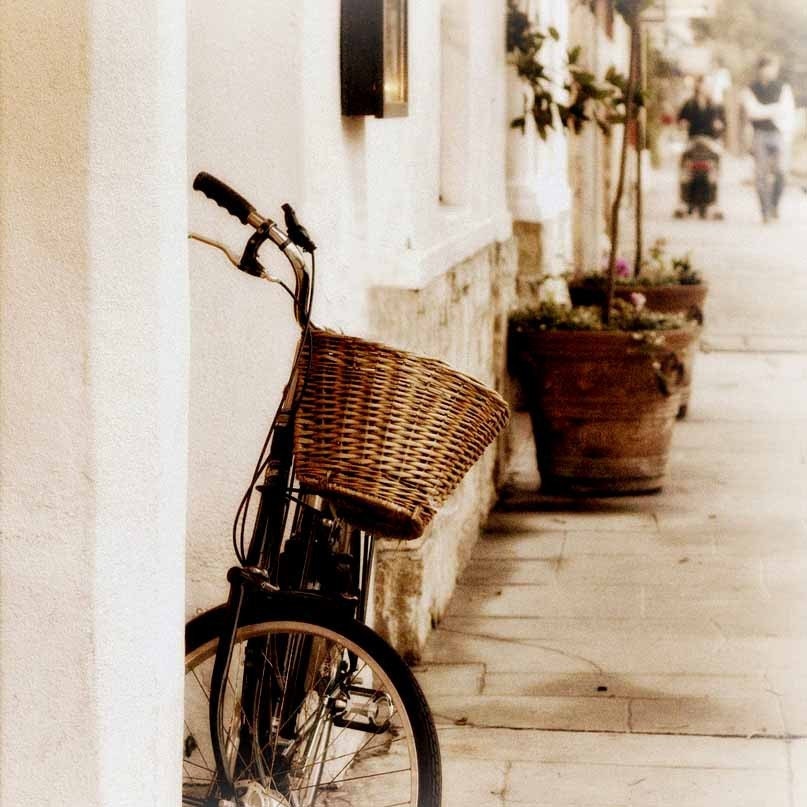
All of My Life I'm Walking Home With You, 5x5 fine art photography print

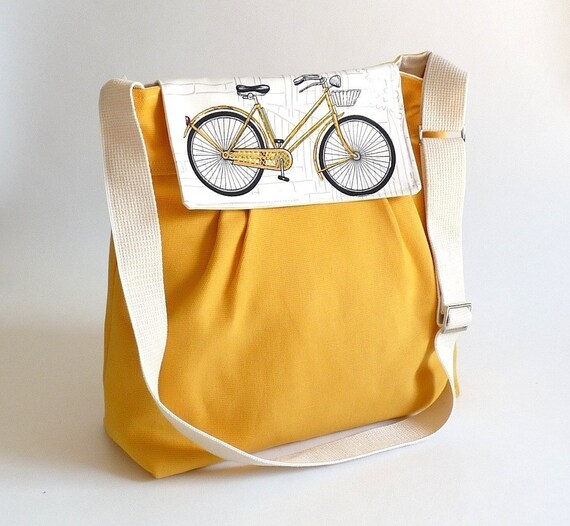
Ready to ship LA POMME - Large Dark Yellow French with Bicycle Flap-Water-resistant tent canvas lining

Set of 5 Vintage Inspired Blank Note Cards - Bicycle

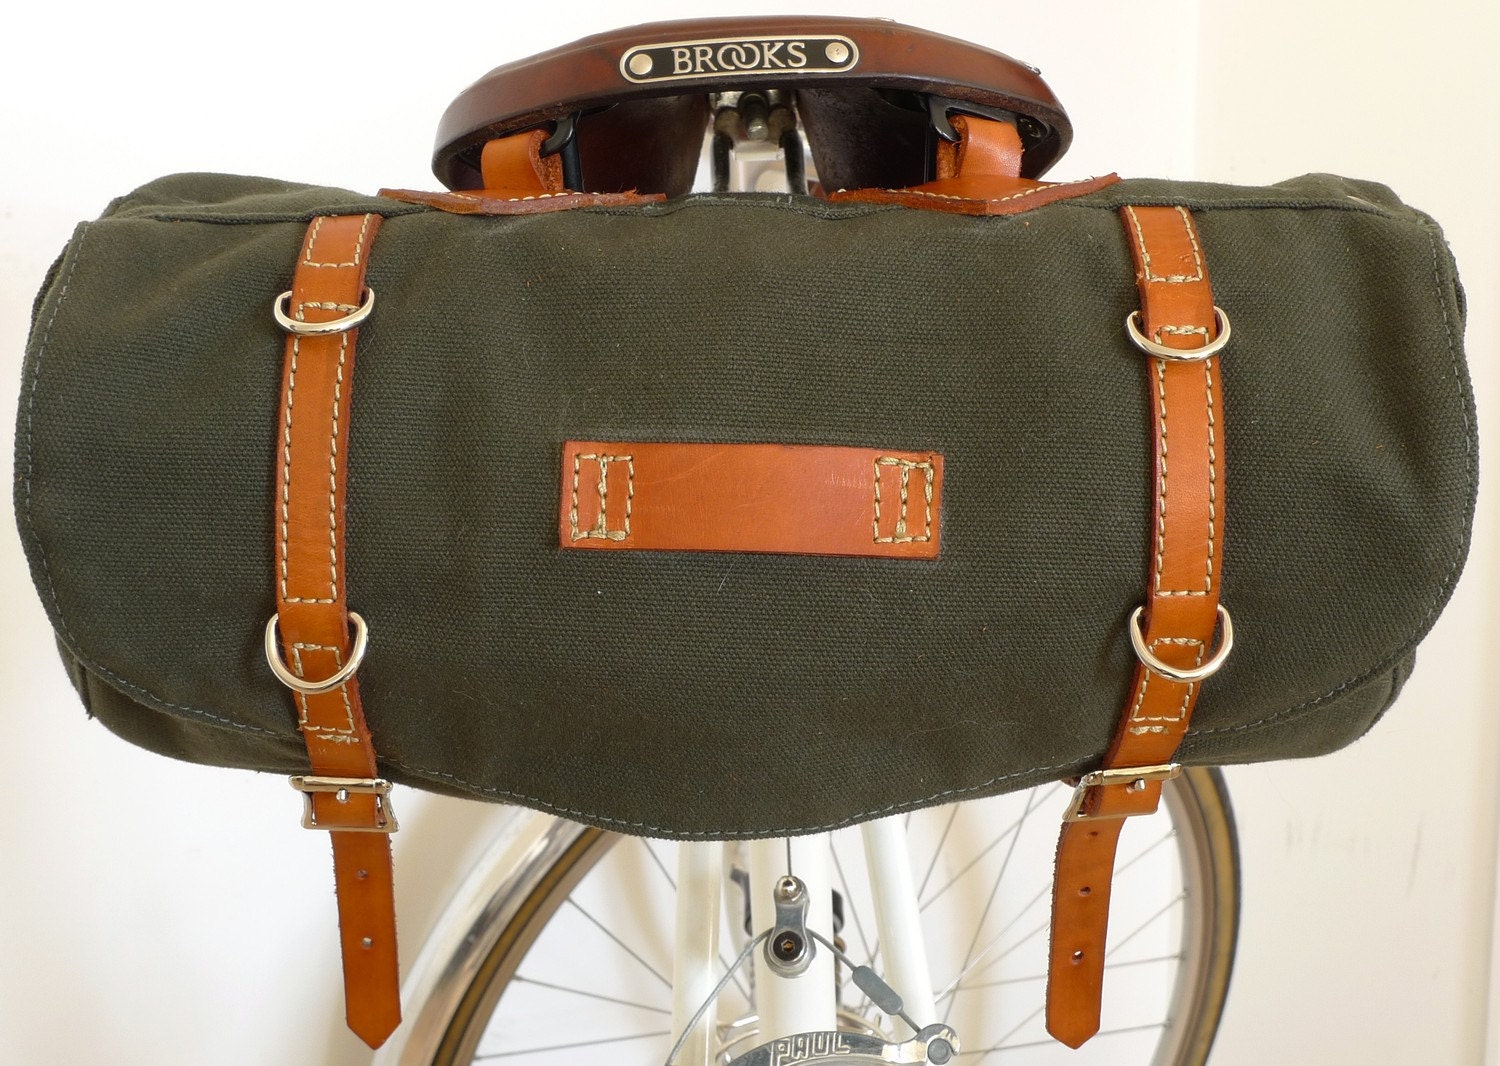
Hunter Green Bicycle Bag

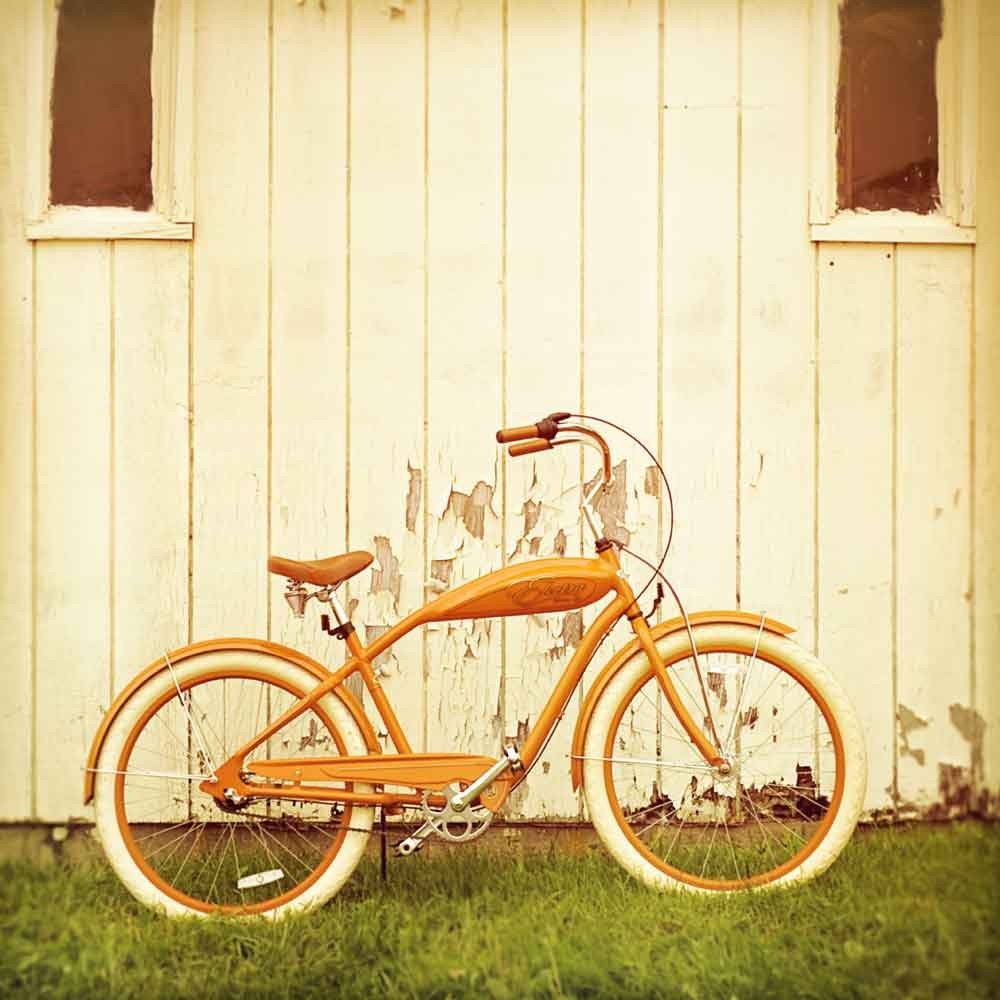
40x40 Overstock Sale - Orange Ride - Fine Art Photography - Only one at this price

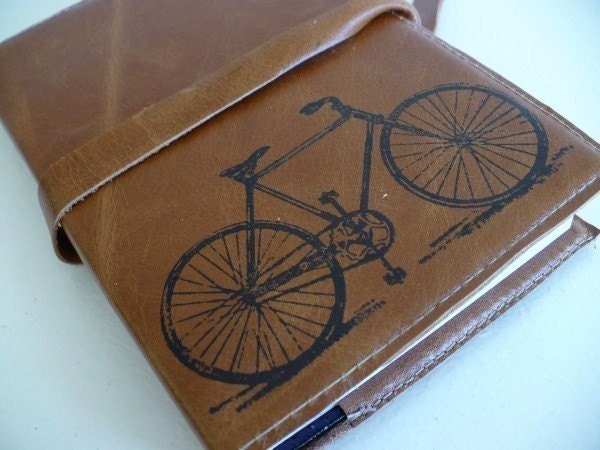
leather journal sketchbook handprinted for you custom bicycle

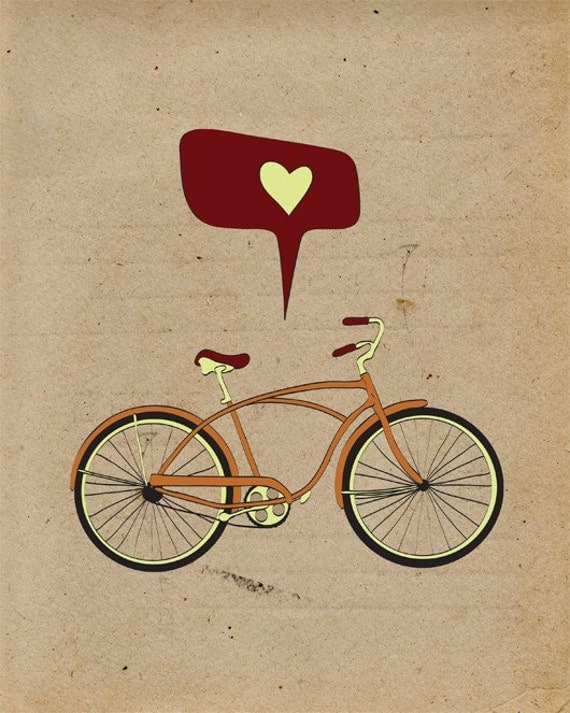
I LOVE TO RIDE - (It's A Passion) - 8x10 Size Print

classic 8.5x11

Click on the image to see the item in it's Etsy shop